本文标题:《「前端」切割图片并打乱》。
镜像链接:https://www.wdssmq.com/post/20220621981.html
项目介绍
折腾,水一篇,周而复始……
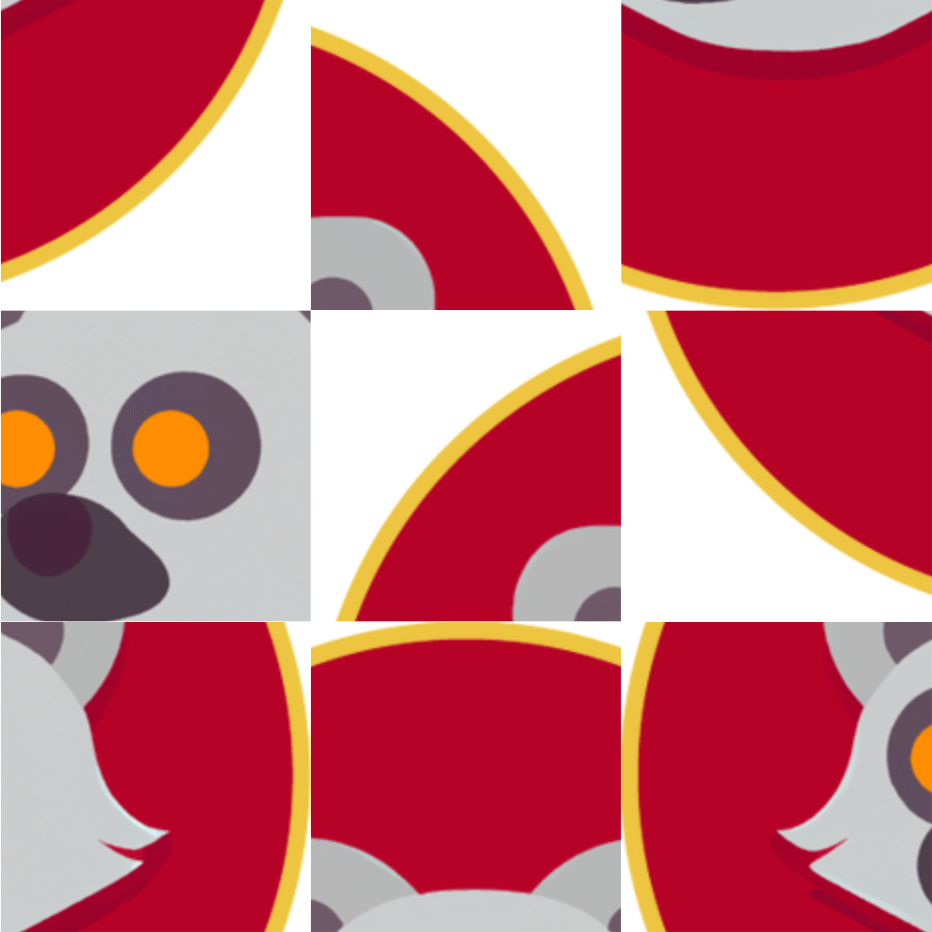
图片切分成九宫格,打乱顺序后输出为一张图片,切分图作为输入可使用口令还原……
项目介绍
折腾,水一篇,周而复始……
图片切分成九宫格,打乱顺序后输出为一张图片,切分图作为输入可使用口令还原……
项目地址
ImgPuzzle - 切分图片并打乱 - 水水的演示站:
https://demo.wdssmq.com/tools/ImgPuzzle/
待办
说明
实现思路:
new FileReader()对像可以读取文件,可以实现将读取到的图片数据设置为页面元素的 CSS 背景,因为需要获取图片的宽高信息,需要在额外用一下new Image()……
以下为读取部分的代码封装,实现预览的同时将图片数据存储在ImgPuzzle.imgInfo对象中,方便后续使用。
点击这里查看代码;
1
2
3
4
5
6
7
8
9
10
11
12
13
14
15
16
17
18
19
20
21
22
23
24
25
26
27
28
29
30
31
32
33
34
35
36
37
38
39
40
41
42
43
44
45
46
|
const fnViewImg = ($input, $view) => {
const checkWH = (w, h) => {
if (w <= ImgPuzzle.imgInfo.maxWidth) {
return { width: w, height: h };
}
const scale = ImgPuzzle.imgInfo.maxWidth / w;
return { width: ImgPuzzle.imgInfo.maxWidth, height: h * scale };
};
const file = $input.files[0];
if (!/^image\//.test(file.type)) {
ImgPuzzle._tips("err-type");
return;
}
ImgPuzzle.imgInfo.name = file.name;
const reader = new FileReader();
reader.onloadend = function () {
const img = new Image();
img.onload = () => {
const { width, height } = checkWH(img.width, img.height);
$view.css("width", `${width}px`);
$view.css("height", `${height}px`);
ImgPuzzle.imgInfo.width = width;
ImgPuzzle.imgInfo.height = height;
};
img.src = ImgPuzzle.imgInfo.data = reader.result;
$view.css("background-image", `url(${reader.result})`);
$view.css("background-size", "cover");
$input.value = "";
ImgPuzzle.status.pickImg = true;
};
reader.readAsDataURL(file);
};
|
切分时生成 9 个div并设置背景,使用 CSS 的background-position属性实现只显示部分图片,看起来就像是切割了一样。
每个div按顺序给以编号,打乱后按新顺序记录即可用以还原。
「- 每次都会有这种感觉,懂的肯定知道我表达的是啥,不懂的我这么表达真的有用么.jpg -」
总之详细的代码可以直接看源码。
项目截图
图像输出用的html2canvas这个库,输出的图片尺寸会比实现的元素大就不太理解,不知道有没有参数可以设置……
下边图片已经有自己缩放和压缩,然而比原图还是大了不少……

↑ 一张打乱的演示,还原码:938517624

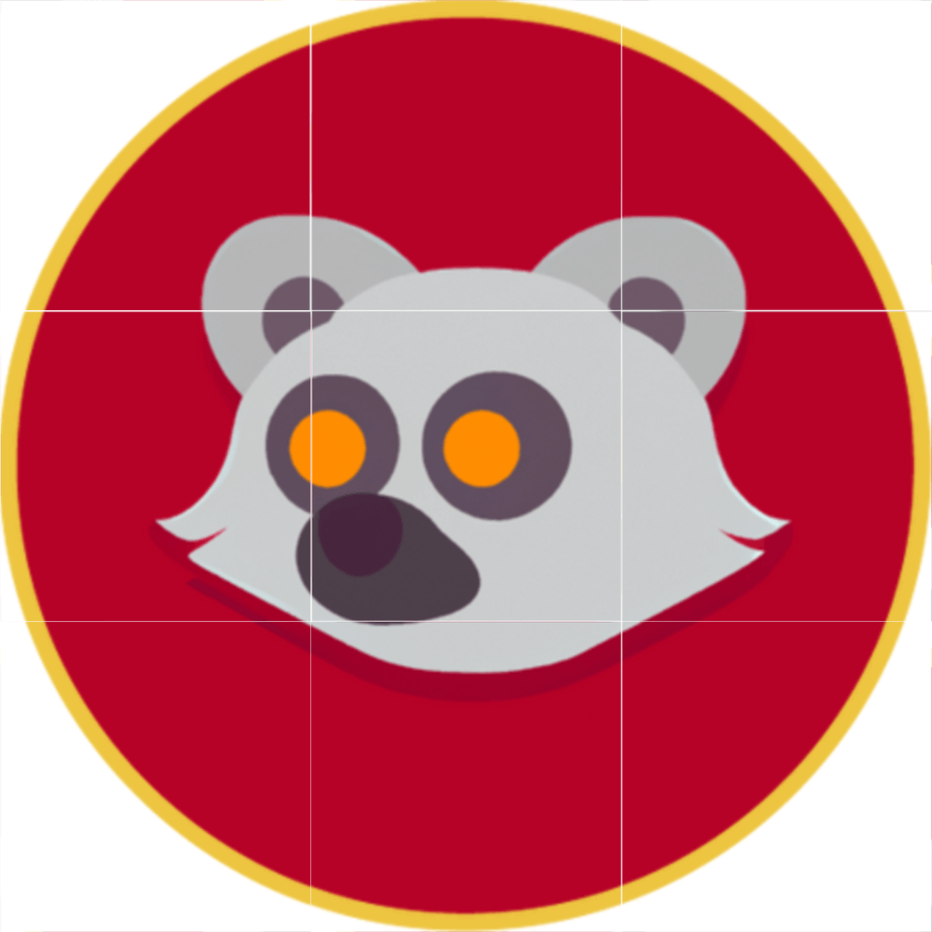
↑ 还原后的效果

↑ 原图

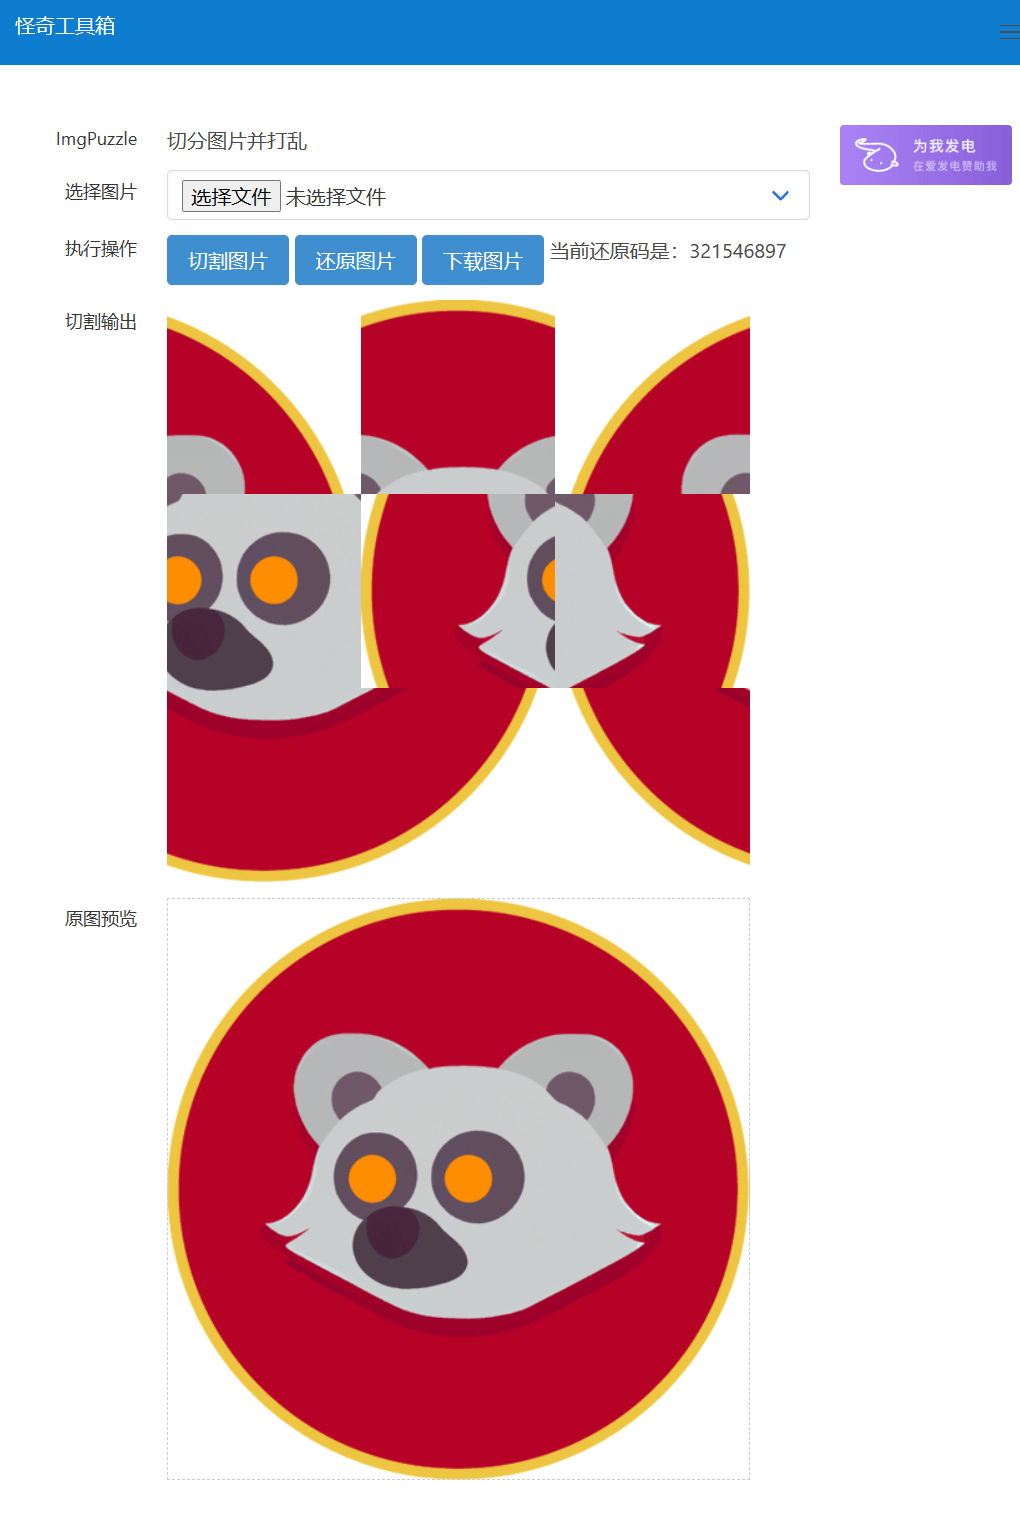
↑ 网页截图


